 Cables are gorgeous and add such a “wow” factor to any project. When binding off there are a few things we need to keep in mind to make a really professional finish.
Bind Off in Cable Pattern
When cables travel up the front and the back of a sweater, and are seamed at the shoulder, you want the cables to meet at a perfect spot. When working a sweater with no shoulder shaping, this is a bit easier. Ideally you’d like to end the cable at the 1/2 point on each side. For instance, if you cross the cable every 6 rows, try to BO the front and back of the sweater 3 rows after the cable cross.
However, there are several bind off situations when you might not be able to control the exact point of the bind off. Perhaps you need to work to a certain sweater length and you just can’t make it work to bind off between the cable crosses, or you are working shaped shoulders, or you are working the bind off at the center of the neck.
Here we have a cable that is crossed every 8 rows, but I had to bind off 6 rows after the cable cross.

Since the cable cross pulls the fabric in, but I had to bind off two rows BEFORE the cross, the edge flares. Here you can see it’s 1 1/2″ wide.
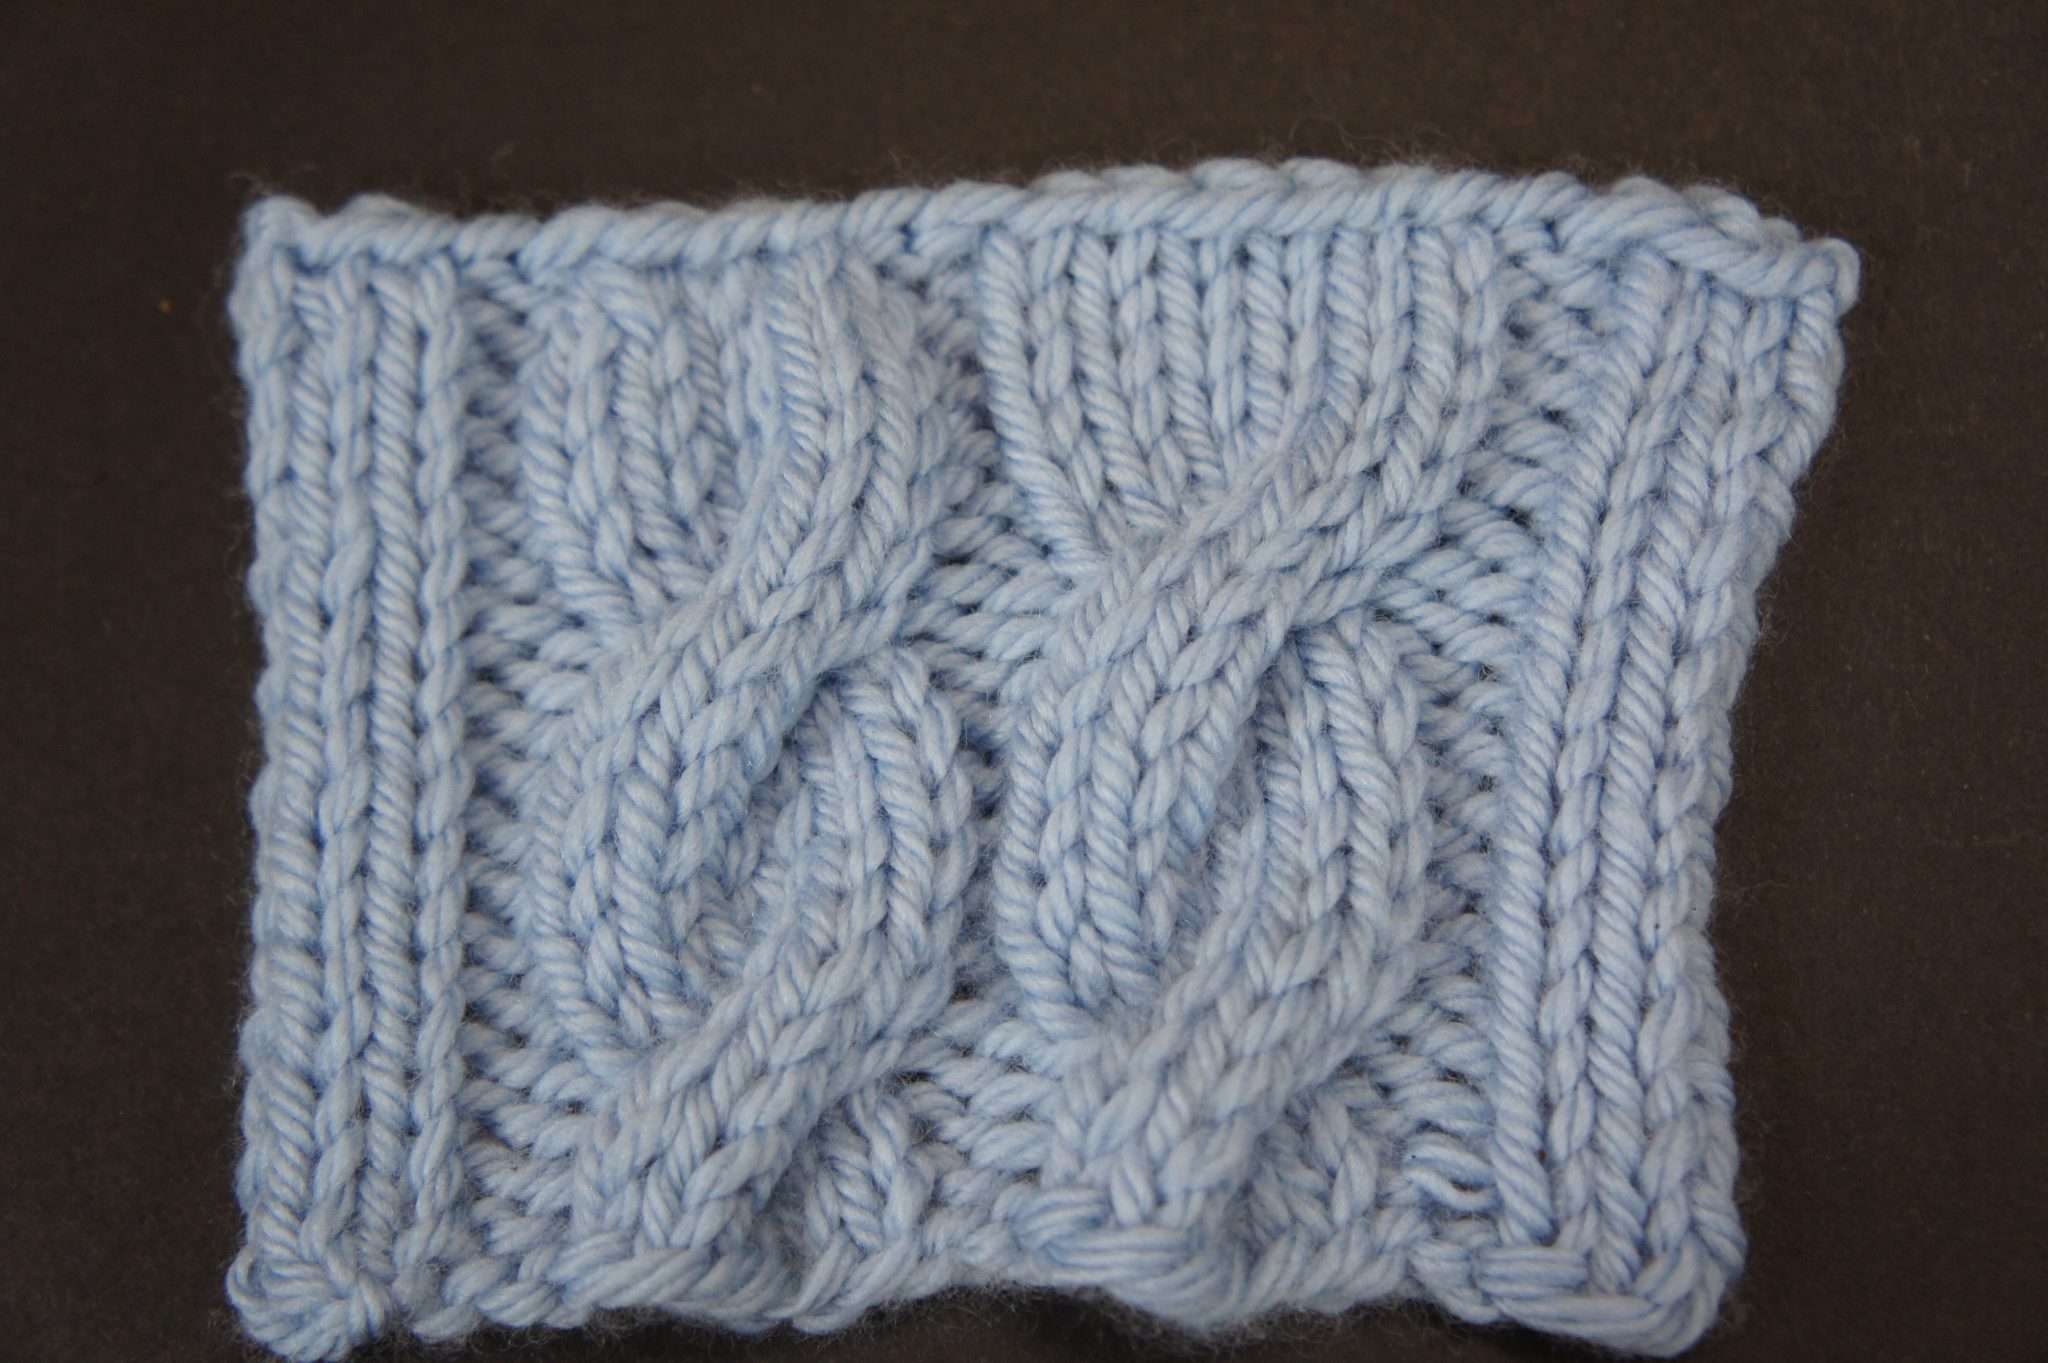
So how did I get the perfect width (3/4″ at the top of the cable) in the picture below?

By putting in some decreases as I bound off, I was able to pull the fabric in without the bulk of a cable cross.
Since this was a 3 over 3 cross I decreased three stitches to get the perfect width
- Bind off as usual, by knitting two stitches, and passing the first worked stitch over the second, until you have worked to the cable
- k2tog (stitch 1 & 2 of cable), pass the last stitch worked before the cable, over the k2tog
- k2tog (stitch 3 & 4 of cable), pass stitch over
- k2tog (stitch 5 & 6 of cable), pass stitch over
And the result . . . perfect!

For more tricks to make your cables perfect, check out my DVD class “EXPLORATIONS IN CABLES“.

To learn how to fix those cables, check out my Interweave class “ADVANCED KNITTING FIXES“.